My husband and I had a grilled teriyaki chicken breast burger with pineapple at a restaurant. It was so yummy but I would have preferred it ground, just for easier eating. So I decided to make my own version of this burger at home.
Tools:
2 Mixing Bowls
Grill or Grill Pan
Knife
Cutting Board
Pineapple Corer(Optional)
Ingredients:
1 lb Ground Turkey
1 Egg
1/2 C Bread Crumbs
1/2 C Teriyaki Sauce
1 Red Bell Pepper, Sliced in rings
1 Medium Onion, Sliced in rings
1 Medium Pineapple, Cored and Cut in rings
Pinch of Salt
Pinch of Black Pepper
Buns for burgers
1 Tbsp Oil, for grill
Directions:
Put 1/4 C of teriyaki sauce in mixing bowl with onions, peppers, and pineapples. Let it marinate while getting the meat together.
Put ground turkey, 1/4 C teriyaki sauce, egg, and bread crumbs in a mixing bowl. Add the salt and pepper and mix until combined, be careful to not over mix. Make into 4 to 6 patties depending on the size you want. Rest for 5 to 10 minutes before cooking so the burgers hold together.
Heat up grill or grill pan on medium high heat. Oil the grill pan and start by grilling the peppers, onions and pineapples.
Then grill the burgers until completely brown through the center, flipping only once. Then assemble the burger and serve with fries or potato wedges.
Enjoy!
I always love these candied nuts that I would get at the fair. I had always wanted to know how they made them. I saw something on the cooking channel where they were making a vanilla candied almonds. I was inspired to try and make my own version with the spices I thought they used at the fair.
Tools:
Sheet Pan
Silicon Mat or Parchment Paper
Mixing Bowl
Kitchen Aid Mixer and Bowl
Spatula
Ingredients:
4 C Whole Almonds
4 C Halved Pecans
2 Egg Whites
1 C Sugar
2 tsp Vanilla Extract
2 tsp Cinnamon
1/2 tsp Nutmeg
Pinch of Salt
Directions:
Preheat oven to 300°F. Whisk egg whites and vanilla until fluffy but not stiff. Add the nuts and coat. Then add the sugar, salt, cinnamon and nutmeg and mix until coated.
Pour out on covered sheet pan in a single layer. Bake for 20 minutes then cool for another 20 minutes.
Break apart and store in airtight container.
Enjoy!
I have seen these filled cookies on many shows and always wanted to try to make them. I found a recipe that called for Brandy in the recipe but not being a fan of Brandy I just decided to omit it from the recipe.
Tools:
Silicon Mats
2 Sheet Pans
Whisk
Saute Pan
Measuring Cups
Measuring Spoons
Kitchen Aid Mixer and Bowl
Dowel or Round Handle
Cooling Rack
Pastry Bag
Pastry Tip
Cookie Ingredients:
1 Stick Butter
1/4 C Sugar
1/4 C Brown Sugar
1/2 C Molasses
1 tsp Vanilla
3/4 C Flour
Pinch of Salt
Pinch of Ground Ginger
Directions:
Preheat oven to 325°F and place kitchen aid mixing bowl in the fridge or freezer(for filling). Heat the butter, sugars, and molasses over medium heat until it bubbles. Cook for 1 minute then turn off the heat. Add the flour, salt, ginger, and vanilla. Stir until the flour is combined.
Use a tablespoon and pour the mixture on the covered sheet pan. 8 cookies a sheet because they spread out pretty far. Bake for 9 minutes. Cool for 2 to 3 minutes. Lift up circles one at a time. Drape them over the dowel and seal the edge. Place on cooling rack. Continue until the mixture is gone. While cookies are cooling we can make the filling.
Ingredients for Filling:
2 C Heavy Cream
1/2 C Sugar
1 tsp Vanilla
Directions:
Combine all ingredients into a cold mixing bowl. Mix on high until you get stiff peaks. Place cream into pastry bag with large tip. Fill the cookies only when they are going to be consumed with in a couple hours or they get soggy.
Enjoy!
I get these cravings for certain things. Not necessarily to eat but just to make. I had never made truffles but I really wanted to try to make them. I decided to make a version of snowball truffles. These were easy to make but are messy and take some time to make but they are well worth it.
Tools:
Cutting Board
Knife
Small Sauce Pan
Medium Mixing Bowl
Sheet Pan
Parchment Paper or Silicon Mat
Measuring Cups
Measuring Spoons
Mesh Strainer
Whisk
Plate
Ingredients:
1/2 lb Bittersweet Chocolate
1/2 lb Semisweet Chocolate
1 C Heavy Cream
1 tsp Vanilla Extract
1 1/2 C Powdered Sugar
Directions:
Chop the chocolate into very small pieces. Place them in the mixing bowl. Heat the cream in the sauce pan until it starts to boil. Turn off the heat and cool for 30 seconds. Pour cream over the chocolate through a mesh strainer. Whisk the cream into the chocolate until completely melted. Add the vanilla and whisk to combine.
Let the mixture rest for an hour at room temperature. Spoon round balls of the mixture onto the covered sheet pan. Refrigerate for 30 minutes or until chocolate is firm.
Roll each dollop of chocolate in your hands to smooth out any rough edges. Then roll each piece in the powdered sugar. They do need to be refrigerated but you can serve them at room temperature.
They make about 60 truffles, so you will have a ton for the coming weeks. Enjoy!
Wow! That was the fastest 8 week class I have ever taken. It was so busy, I felt like I was always gone. We ended this week with 7, I repeat 7 tests in 3 days! After doing a knife skills test, herb and spice test, then math and vocab test came the big cooking test.
I was so nervous and stressed because we did not know what we were cooking until 5 minutes before we had to cook the dish. After calming myself down and trying not to stress over it, it wasn't that bad.
I got a Roast Beef and Cheddar Wrap with Horseradish Mayo with a Macaroni Salad. The first one I had to follow the recipe then the macaroni salad I had to come up with the recipe myself. This all had to be done in 40 minutes. 40 minutes! Ha! I got this in the bag! Pffffttt... Yeah those 40 minutes.... yeah they go by a lot quicker when you are not in a small kitchen and have much more walking to do just to gather your ingredients and tools.
After getting that finished it was a huge relief to have that finished. I am glad to say I had fun and did well! I can not wait for the next semester start which sadly isn't until August but with more time on my hands I will be creating and posting much more often with recipes!
This course for my culinary schooling is one most people often overlook or do not know the importance of this course. Safety and sanitation is very important for anyone to take. A food born illness takes only 2 people to get sick to be considered an outbreak. That's right, only 2!
Its amazing at what can make you sick and its also miraculous that most of us haven't died from these illness'. Some are really easy to prevent like salmonella by proper handling and cooking then there are the ones like Hepatitis A that even proper cooking will not destroy the virus.
The biggest thing I learned from the course is it is the person that is handling the food that is the biggest problem and biggest solution to food illness outbreaks. They can either help fix the problem or make it worse. This course is something anyone working in the food industry should have to take!
I love seafood like shrimp, mussels, scallops and clams. I have seen Cioppino made and seen it done on TV but never actually tried it. I recently saw in the local grocery store they had live clams, mussels, and fresh halibut. I decided I would make a Cioppino. It is a fish stew that stemmed from San Francisco and it is usually made with what ever fish or seafood you have on hand. This recipe I came up with turned out really yummy, even my 4 year old son ate it! It has a lot of ingredients but is well worth the amount of ingredients.
Tools:
Large Sauce Pan
Cutting Board
Knife
Strainer
Measuring Cup
Ingredients:
1 Filet Halibut
1/2 lb Shrimp
1 lb Clams
1 lb Mussels
1 Onion, diced
3 Stalks Celery, diced
1 Red Bell Pepper, diced
1 Tomato, de-seeded, diced
2 Cloves Garlic, minced
4 Tbs Tomato Paste
1/4 C Sweet White Wine
2 Tbs Olive Oil
2 tsp Black Pepper
1 tsp Red Pepper Flakes
1 Tbs Parsley, minced
2 tsp Salt
64 oz Seafood Stock
Directions:
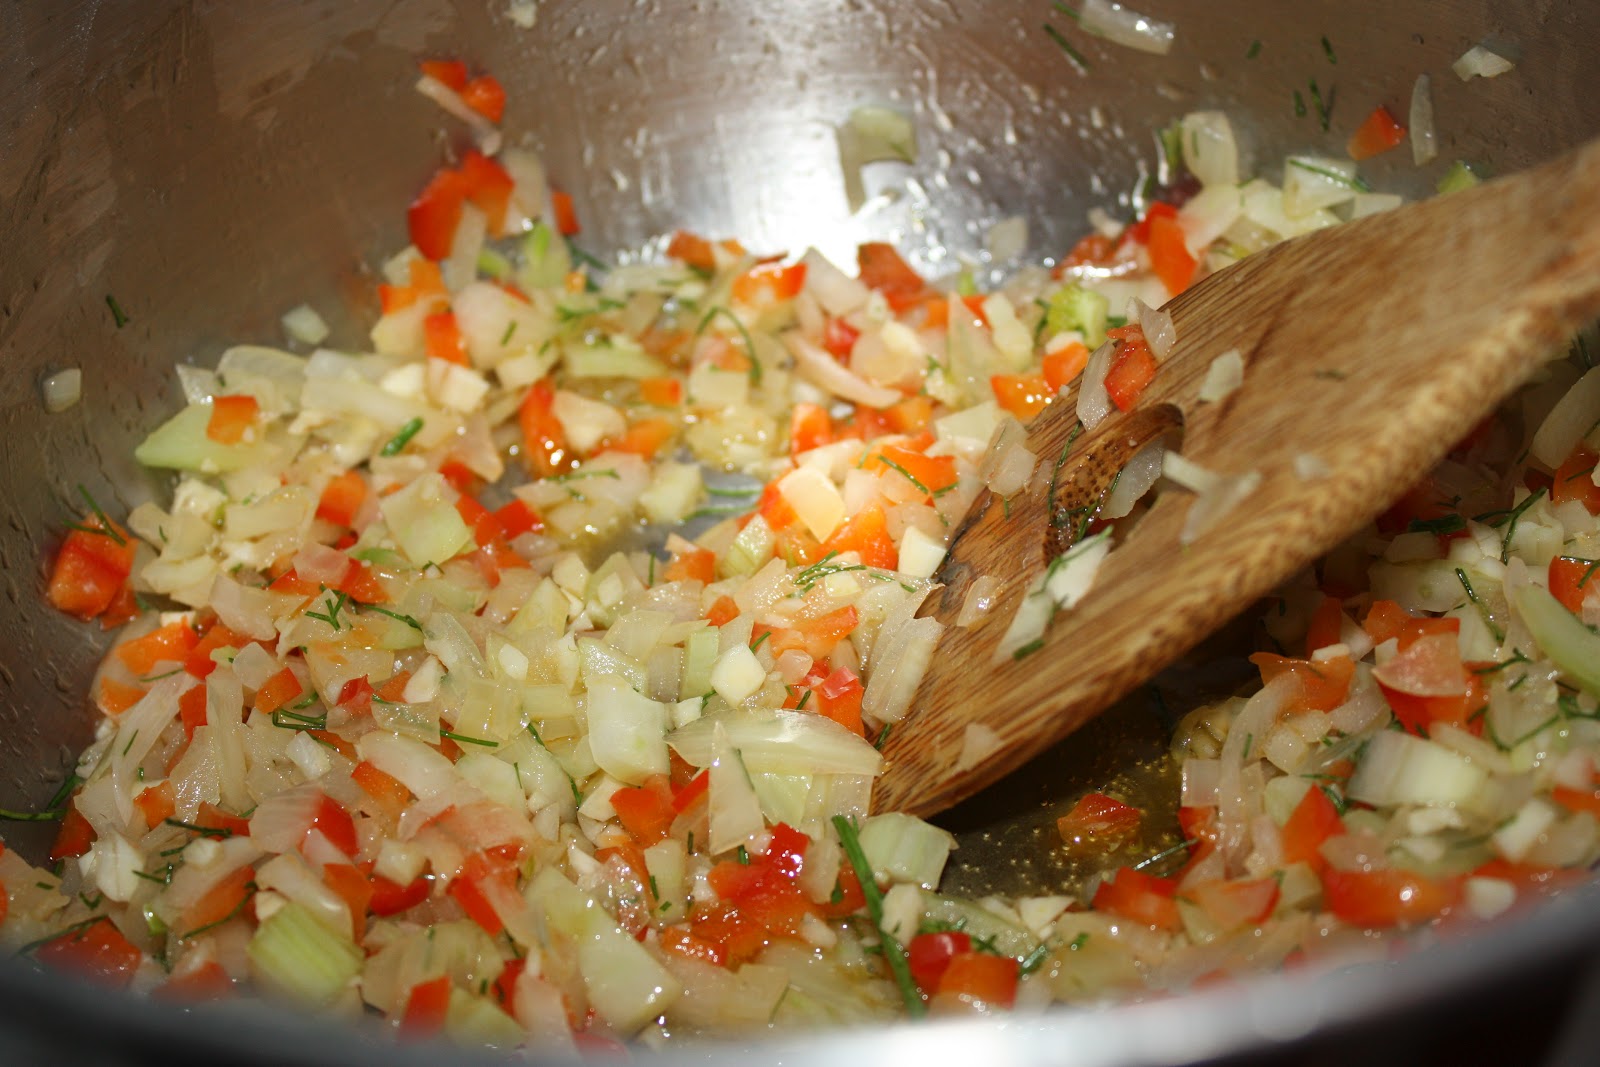
Start by dicing all the veggies, then clean all the seafood. Make sure the clams and mussels have no sand or dirt on them. Heat up the sauce pan with the olive oil over medium high heat. Add the veggies and garlic. Saute until onions are translucent.
Add the tomato paste. Cook for about 30 seconds and then add the wine. Cook for 2 minutes and add the spices. Then add the seafood stock. Simmer for 30 minutes.
Then cut the halibut into 2 in chunks.
Once the 30 minutes is up add the clams and mussels and let them cook for about 7 to 10 minutes. Then add the shrimp to the soup. Then finally add the halibut to the soup. Let the fish cook for 2 to 3 minutes or until cooked through.
Once that is finish it is ready to serve, be sure to check the clams and mussels that they are open. The ones that are not open just toss out.
Enjoy!